Here comes the second lesson on drawing Donald Duck. Here we are going to draw it and paint it with Acrylic paints.
First of all draw a Donald (google some Donald wallpapers and draw one). Bear with the picture clarity. You can hardly see anything on the initial sketch below, as I made the sketch very light with pencil; keeping in mind that lines should not be seen after painting.
Here it goes...
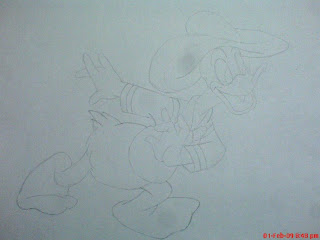
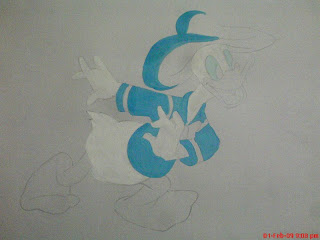
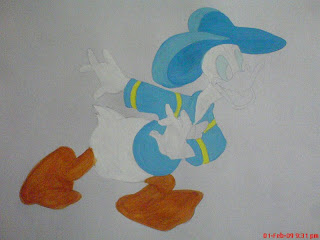
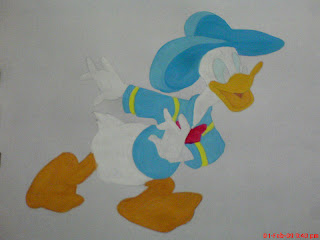
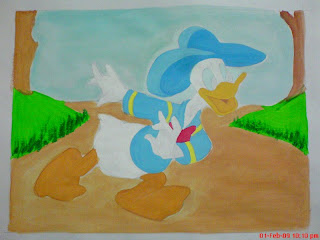
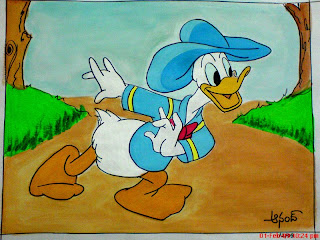
Donald's body will be white in color, but never leave the body with out painting white even if the paper on which you are painting is white. In the below snapshot you will see that I have painted the body of Donald white and shirt with light blue.I am going to paint the shirt in 2 different shades. So, I added a tinge of navy blue and white to the light blue I used to paint the cap. Fill the strips near handcuffs and collar neatly with lemon yellow. Paint the legs with light brown as shown below.Oops! I painted the legs too dark. I added 3 brown + 1 white and painted the legs again to make it lighter. The beak is also painted in the same color. The bow tie and tongue are painted in red.Now lets paint the background; the easiest part. Its your wish to create your own background. I have done it like this...The last and most important part is to draw outlines. It brings a lot of change and grace to the picture. The final one looks like this...The drawings I make have no comparison to the master piece the legend had created. So, I keep on practicing ;-)
Friday, October 23, 2009
Learn to draw Donald Duck's face
Hi guys, hope you are all doing well. I am going to publish 2 posts today; both are on Donald Duck. In this post let us see how to draw Donald Duck's face. Legend - Walt Disney created Donald Duck's character in 1934 and introduced it to readers through his comic Mickey and friends.
It is pretty simple to draw a Donald Duck. This time I bought a magnetic board to draw so that it would be clear for you. I will try to explain more with the pictures rather than explanation because you will see that we can draw it in 6 simple steps.
Always draw the eyes first, I am going to draw Donald's face turned a bit towards left.Next comes the beak, draw simple connecting curved lines as shown below to complete the upper part of beak.and then...Simple! right? Now let us complete the lower part...Now, lets draw the eyebrows and the head part...
Next comes the cap and little touchup completes Donald's face...It comes out really well on a paper. Next post will be on how to draw a full picture of Donald and paint it.
Thursday, September 10, 2009
Pencil Shading - Drawing a portrait
In this post I am gonna describe how I made a portrait of a cute little girl (her name is Munni). I have a serious problem in drawing hair. I don't know how to draw it. I can say 'this is my first serious attempt'. Some times I even avoided drawing which involves drawing hair [:P]
Anyways, the topic is not on drawing hair, I will post one when I learn the technique or create my own one.
I always draw on rough side of the sheet if I am making a pencil sketch or painting something. The basic outline of the portrait should be drawn very lightly on the sheet. Don't make a dark sketch at the first go. After I am done with the outline it looked like this.
I know you are going to kill me now. I will take the pictures with my camera and not with my mobile from next time. Except the details, everything else should be planned while drawing the outline itself. Beautiful eyes always brings life in the picture. Draw eyes carefully (see my post on how to draw eyes).
Next comes shading and smudging. Imagine light coming from one direction while shading the picture. Say, if the light is falling from right, left outlines should be shaded darker than the right ones. Once the shading is done, take a small clean paper, fold it in triangular shape and some extra paper to hold (The sharp edges of the paper helps to smudge smaller areas of the picture).
Though I have managed to draw the girl's picture it didn't really match her original beauty.
Subscribe to:
Posts (Atom)